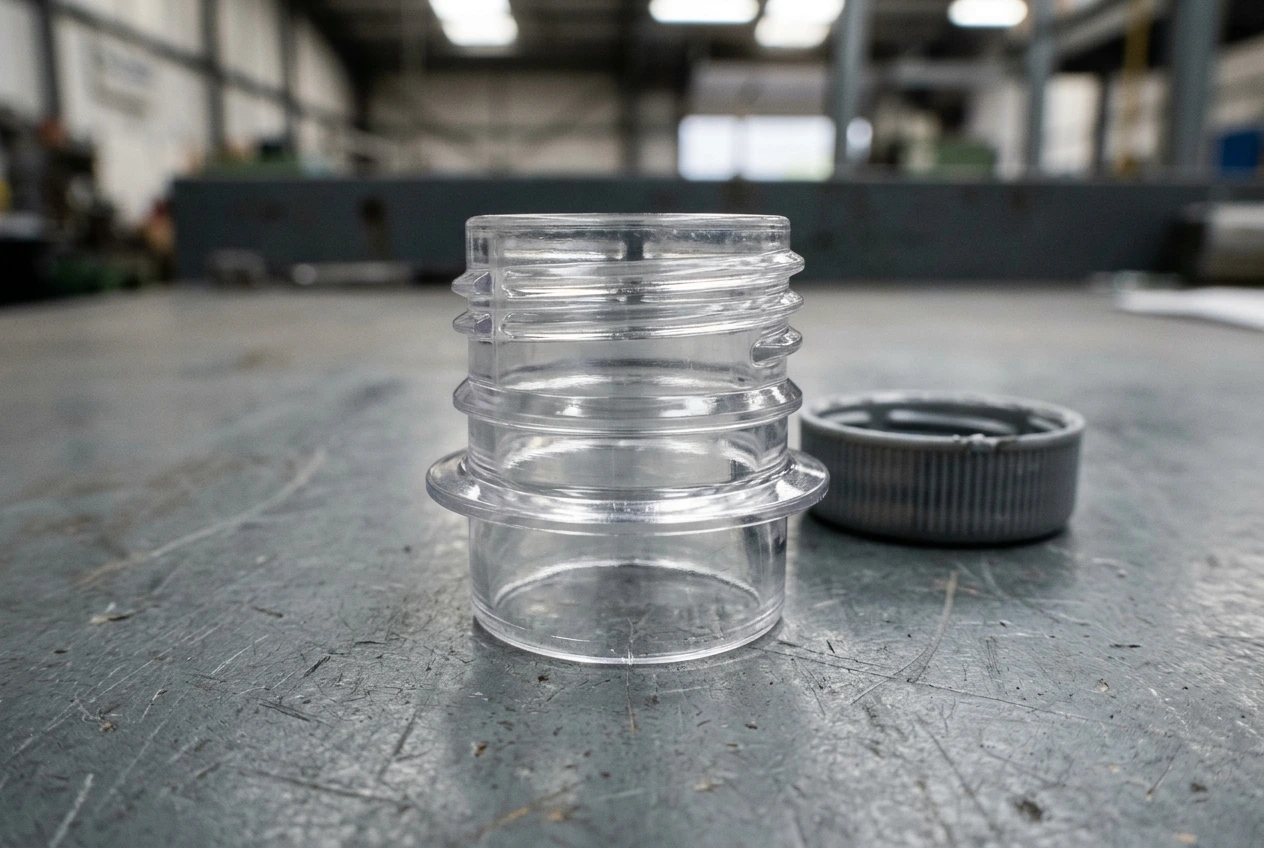
You cannot calculate a dependable stand-up pouch size from product weight alone. Start with the product’s actual occupied volume and filling behaviour, then test candidate pouch structures while reserving the areas needed for opening, gripping and sealing.
Use the blank records below to document candidate dimensions and a sample plan. Confirm capacity and machine compatibility with physical samples.
Describe the product before the pouch
Record the intended fill mass, product condition and how the product settles after filling. Granules that pack tightly and bulky irregular pieces can occupy very different volumes at the same mass. If you use measured bulk density to estimate volume, record the measurement method and condition; do not borrow a density for a different product.
A useful preliminary relationship is volume equals mass divided by bulk density when the density measurement represents the actual filling state. That gives a product-volume estimate. The pouch shape, headspace and machine access still need physical assessment.
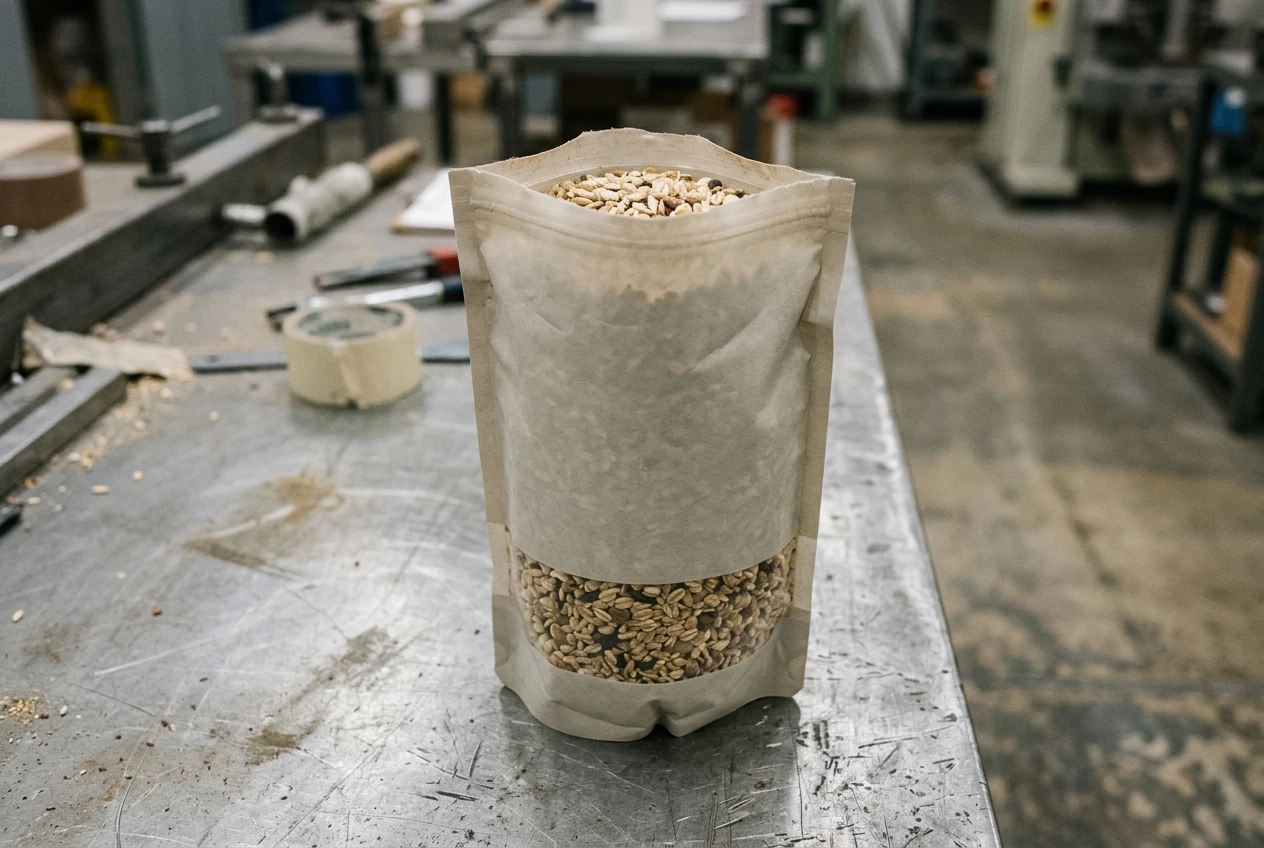
Record the supplier’s dimension convention
Ask whether width and height describe the flat outside dimensions, and how the bottom gusset is stated. Identify seals, zipper, valve or spout separately. “Gusset” can be represented differently in drawings, so confirm its reference points rather than comparing catalogue labels alone.
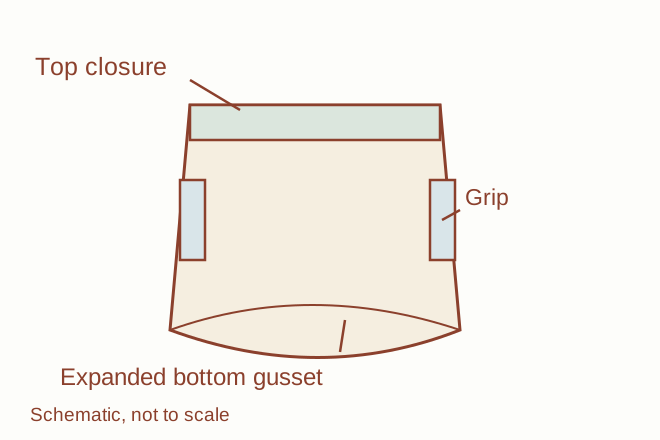
The schematic separates the nominal outline from regions that need room for handling and closure. It is undimensioned because these regions depend on the actual pouch and machine. Do not treat the shaded area as a standard fill line.
| Input | How to obtain it | Where it goes in the brief |
|---|---|---|
| Product amount | Defined fill requirement | Trial condition |
| Product volume | Representative measurement or documented estimate | Candidate sample selection |
| Pouch outline | Supplier drawing with dimension convention | Width, height and gusset fields |
| Grip and opening areas | Machine integrator’s requirement | Marked handling zones |
| Sealing area | Pouch structure and closing operation | Clear top region |
| Attachment footprint | Valve, zipper or fitment drawing | Exclusion and access review |
Check the opening against the filling operation
Give the integrator the candidate samples, product description and drawing before assuming they fit the machine. Ask which surfaces the opening devices and grippers use, and what access the filling equipment needs. A pouch that holds the product when filled by hand may still be unsuitable for that sequence.
A local manufacturer source, ZONESUN’s ZS-AFS04W application description, identifies pouch samples, product behaviour and opening stability as inputs to selection. Its published dimensions apply to that model only. This guide deliberately uses no machine range as a universal pouch design rule. The source is the manufacturer’s premade-pouch description.
Account for attachments and the closed state
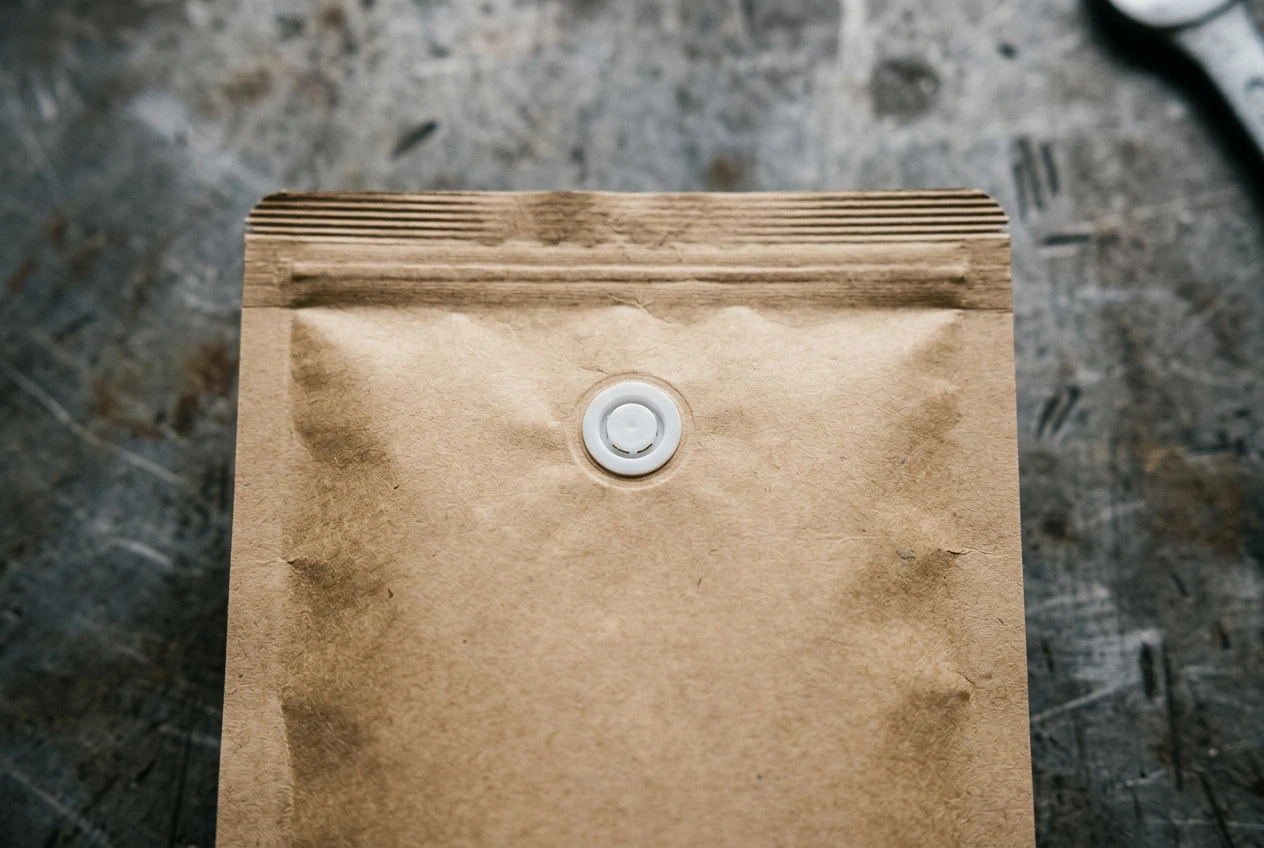
The valve-pouch detail shows an attachment occupying a flat wall. A valve may change where the pack can be handled; the supplier and integrator must confirm the actual constraints. Review the coffee valve case if that feature is part of the brief.
Close a representative filled sample by the intended method. Observe its settled shape, standing behaviour and the available code area. Record any fold, bulge or product migration near the closing region. Treat each observation as a sample result under the stated conditions, not an inherent property of the nominal size.
Complete a candidate-size record
Download the candidate record (CSV), product-measurement sheet (CSV) and sample-trial plan (CSV), or copy the blank tables below. Make one candidate record for each drawing revision. Link its measurement and trial IDs so an observation stays attached to the tested sample.
Product measurement record
| Field | Recorded value |
|---|---|
| Product, lot, condition and measurement ID | ____________________ |
| Target fill mass M (g) | ____________________ |
| Container ID, volume method and filling state | ____________________ |
| Container tare t (g) / gross sample mass b (g) | ____________________ |
| Net sample mass m = b − t (g) | ____________________ |
| Occupied sample volume v (mL) | ____________________ |
| Bulk density rho = m / v (g/mL) | ____________________ |
| Estimated target product volume V = M / rho (mL) | ____________________ |
| Direct volume of target mass, if measured (mL), and method | ____________________ |
| Operator, date and repeat-measurement IDs | ____________________ |
Use positive masses and volumes, and retain individual measurements in the CSV rather than silently averaging different product states. For an arithmetic example only, an assumed 100 g sample occupying 200 mL gives rho = 0.5 g/mL; an assumed 250 g target then gives V = 500 mL. These assumed inputs demonstrate units, not a measured product or a pouch capacity. They give no pouch width, height, gusset or headspace allowance.
Candidate drawing and sample record
| Field | Recorded value |
|---|---|
| Candidate ID, supplier and material/lot reference | ____________________ |
| Drawing revision and physical sample IDs | ____________________ |
| Flat external W, left to right outside edges (mm) | ____________________ |
| Flat external H, top to bottom outside edges (mm) | ____________________ |
| Bottom gusset G (mm) and supplier’s measurement convention | ____________________ |
| View and coordinate origin agreed with supplier | ____________________ |
| Grip/opening contact and access envelopes: drawing reference, extents (mm) | ____________________ |
| Fill access and closure/seal/zipper: drawing reference, extents (mm) | ____________________ |
| Valve/fitment footprint, position and tolerance (mm) | ____________________ |
| Candidate selection reason and linked measurement IDs | ____________________ |
| Unknown dimension or constraint / responsible owner / due point | ____________________ |
For a shared front-view overlay, you can propose x = 0 at the flat outside left edge and y = 0 at the outside top edge, with x increasing right and y downward. Confirm that convention before recording zone extents as x-min, x-max, y-min and y-max in millimetres. Keep the supplier’s gusset convention explicit: a folded depth and a fully opened depth are different references. Request candidate W/H/G from the supplier using the product record, then assess physical samples; the volume formula cannot generate those dimensions.
Sample-trial plan and result
| Field | Planned value / observed result |
|---|---|
| Trial ID, candidate/drawing revision, sample IDs and pouch lot | ____________________ |
| Product lot, condition and target mass (g) | ____________________ |
| Machine/configuration and setting-record reference | ____________________ |
| Sample quantity and planned opening/gripping/filling/closing checks | ____________________ |
| Acceptance criteria, units/method and responsible approver agreed before trial | ____________________ |
| Observed opening, grip/slip, spillage and closure condition; event counts and sample quantity | ____________________ |
| Settled pack dimensions (mm), standing behaviour and code-area observation | ____________________ |
| Photos, retained samples and measurement-record references | ____________________ |
| Decision / approver / date | ____________________ |
| Unresolved action / owner / due point | ____________________ |
Leave results blank until the trial occurs. Record the actual setup, sample quantity and observations, including rejected samples; an unperformed check remains pending. The CSV separates planned checks from results and retains an action owner for unresolved work.
If a sample fails, change one relevant design variable where practical. A simultaneous change to width, film stiffness and filling speed makes it difficult to tell what solved the problem. Keep rejected samples for comparison and document the final approved combination.
The next step is a dimensioned handoff accepted by the pouch supplier and line integrator. The design for packaging machinery guide connects this sample-based sizing task with other package handling decisions.